
Add, Connect, and Configure Blocks
Build a workflow by adding blocks to a pipeline version, connecting compatible ports, and completing each block's required settings. This article uses the unpublished Documentation - Add Connect Configure pipeline in the Hack It UP - event project.
Add a block to the canvas
A workflow normally begins with a trigger. Add later steps according to the path that should run after that trigger.
You can add blocks in several ways:
- Drag a block from the catalog onto the canvas.
- Select the plus action beside an output port to add and connect a compatible next block.
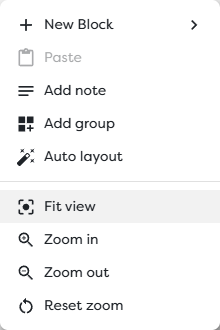
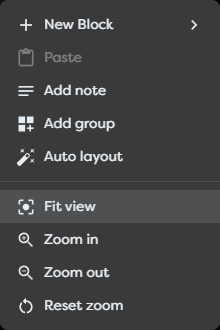
- Right-click an empty area of the canvas and select New Block.
- Use
Ctrl + Pto focus block search when the catalog is available.
Catalog items are grouped by purpose and show their block type. An unavailable item requires a capability or resource that is not currently configured in the workspace. Use Hide unavailable blocks when you only want to browse blocks that can be added immediately.
Add a compatible next block
Select the plus action beside an output to open a list of blocks that can follow that port. Choosing an item creates the block and its connection in one step.
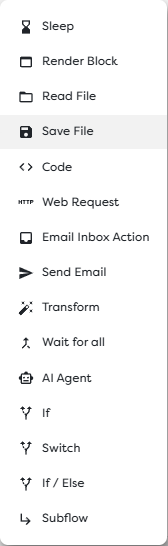
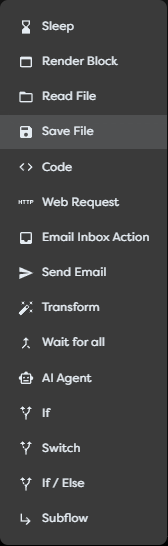
This method is useful while extending an existing path because the list is scoped to compatible block types. Use the full catalog or New Block when you want to place a block before deciding where it belongs.
Connect ports
Drag from a block's output port to a compatible input port. The completed link defines a possible execution path between the two blocks.
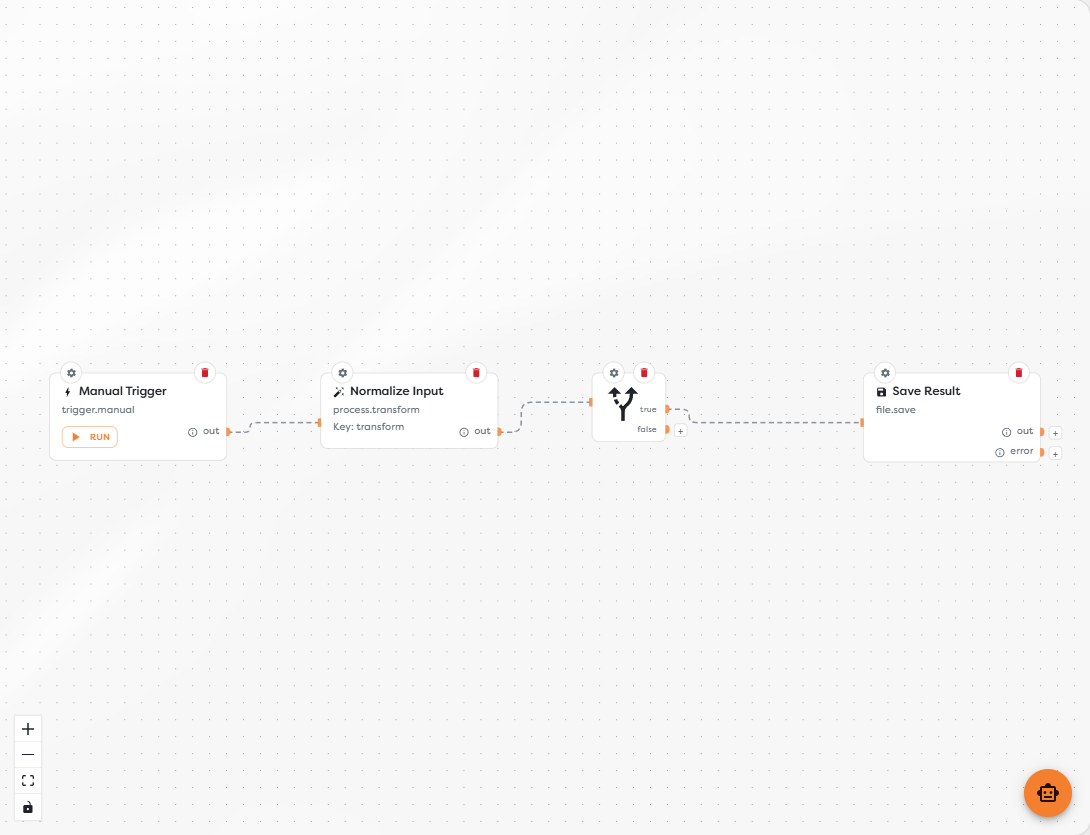
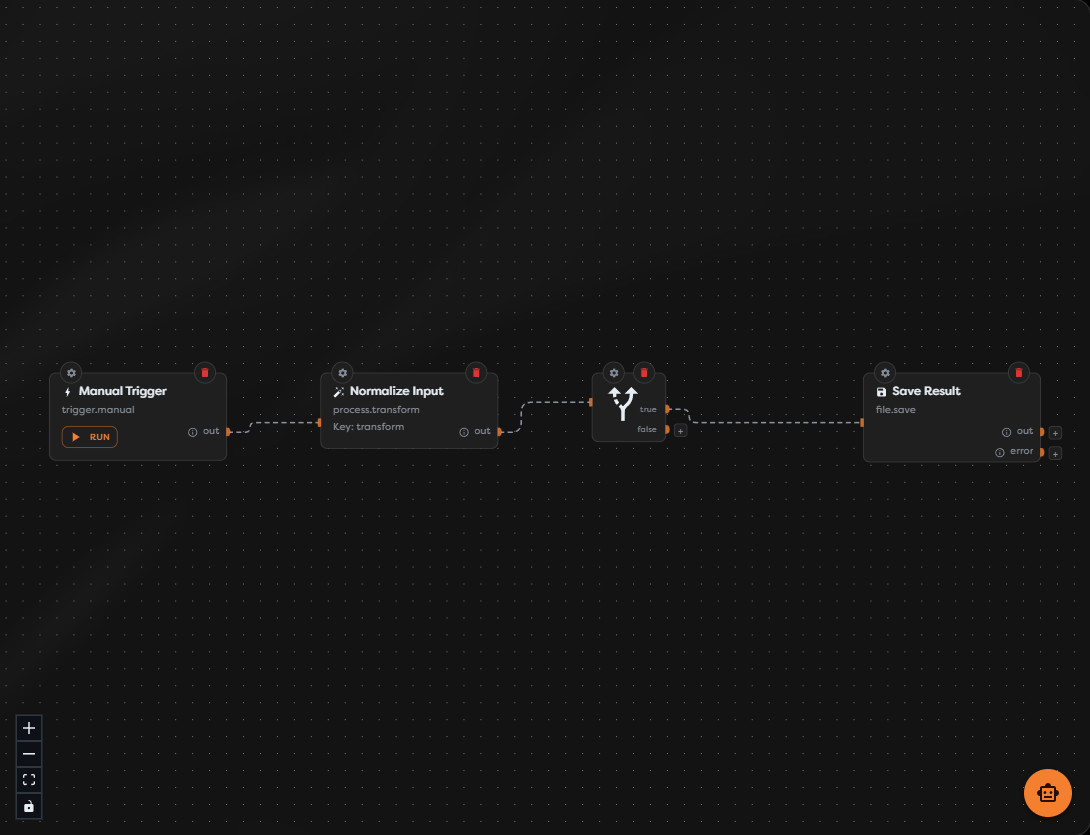
Read the port name before creating a link:
outis a block's standard output.trueandfalseare separate outcomes of a condition.erroris an error path exposed by supported blocks.
A block can have multiple outgoing links. A condition can also route from different named outputs, so connect every outcome that the workflow must handle. A link from true does not handle false, and a normal out link does not automatically handle error.
To clean up the diagram, right-click an empty area and select Auto layout. Then use Fit View to frame the arranged workflow. Auto layout changes block placement; it does not create, remove, or reassign links.
Configure a block
Select the gear on a block to open its settings. Complete its label and block-specific fields, which can include selectors, paths, expressions, credentials, or JSON editors.
Required or invalid values are reported in the dialog. The example below cannot be applied because its Template JSON is incomplete.
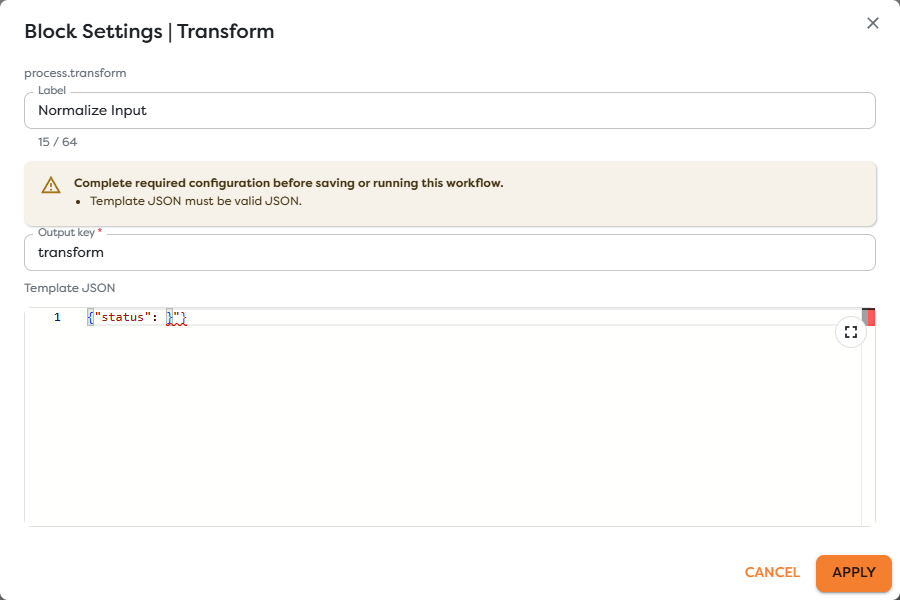
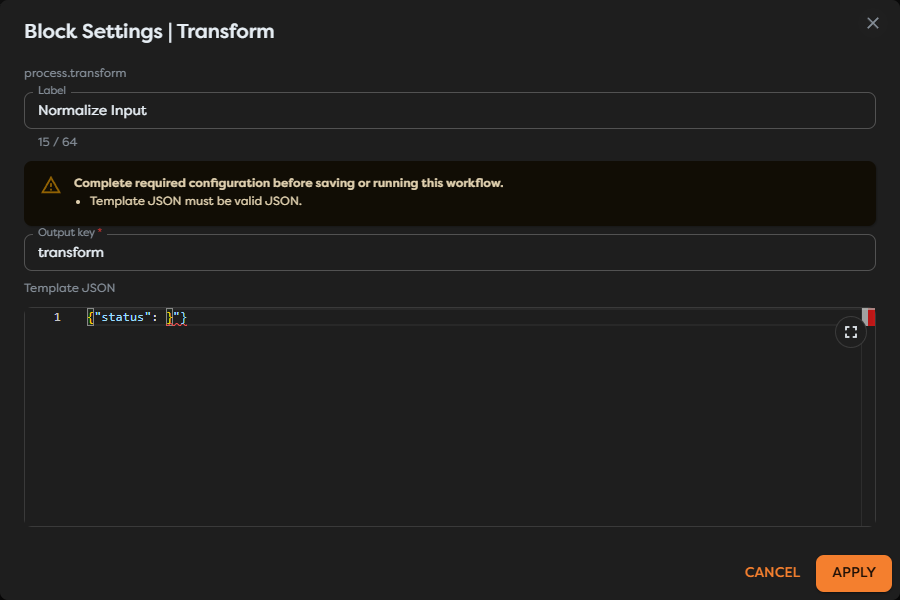
Correct every listed problem, then select Apply. Applying settings updates the current draft on the canvas; it does not save or publish the pipeline version. Select Cancel or close the dialog to discard edits made in the dialog.
Delete a block safely
Use the delete action on a block, or delete the current selection with the keyboard. Builders asks for confirmation before removing selected blocks.
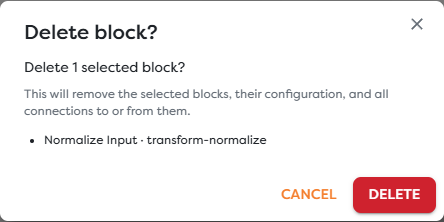
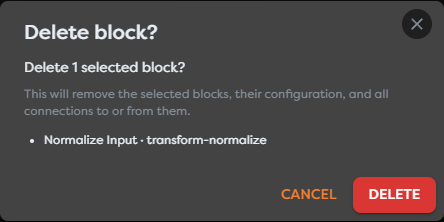
Deleting a block also removes its configuration and attached connections from the draft. Select Cancel if any listed block should remain. After confirming, review the surrounding path and reconnect any steps that should still execute.
Review and save the draft
Before saving:
- Confirm that the workflow starts with the intended trigger.
- Resolve every required-field and validation message.
- Follow each named output and check that every required branch is connected.
- Look for unintended disconnected blocks or links.
- Use Auto layout and Fit View for a final visual review.
- Select Save to persist the draft.
Saving and publishing are separate actions. Test the saved draft before making its version public.