
Create Your Account and First Workflow
This guide takes you from registration to a successful test run in Boilerplate Builders. You will create a project and pipeline, connect a Manual Trigger to a Transform block, save the workflow, and inspect its result without publishing it.
1. Create or access your account
Open the Boilerplate Registration Link. The registration page currently offers three methods:
- register directly with Boilerplate;
- continue with GitHub;
- continue with Google.
Complete the prompts from the selected provider, then sign in. Builders returns you to the application after authentication. If you already have a Boilerplate account, use the Boilerplate Sign-in Link instead of registering again.
A newly registered account may include an initial usage allowance. Treat the values displayed in Budget as authoritative: package size, expiry, and renewal behavior can differ, and a one-time allowance does not imply an automatic renewal.
2. Create a project
Open Projects from the application menu and use the create action in the top-right corner. Enter a project name that describes the group of automations it will contain.
Choose the owner scope carefully:
- User creates a personal project and uses resources owned by your user workspace.
- Team creates a shared project for the selected team, subject to your team role and current limits.
The project's ownership scope controls which integrations, files, Vault entries, databases, and AI connections its pipelines can use. You can review the current scope later in project settings and use Change ownership when an eligible project should move to another scope.
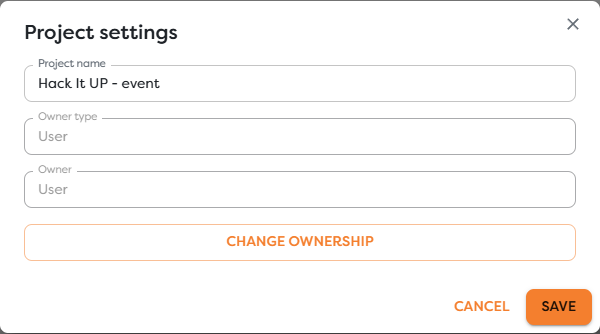
If the create action is disabled, check the tooltip and your current project limit. Deleting or moving an unrelated project just to continue this guide is not required; you can use any existing project that you are allowed to edit.
3. Create a pipeline
Open the project's pipeline list and use the + action. Give the pipeline a focused name such as My first workflow. A pipeline represents one automation and inherits the ownership scope of its project.
The example project below contains Hack It - Registration Form, a pipeline that accepts event registrations. Use the open action in a pipeline row to enter its Designer.
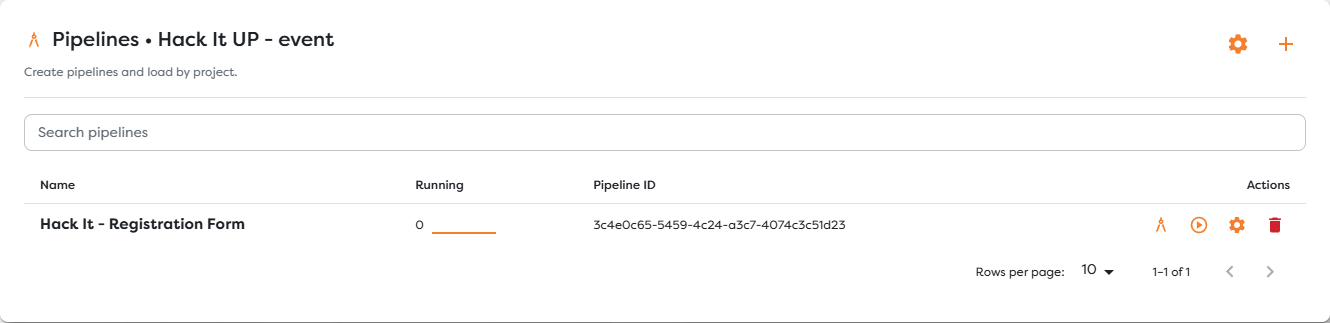
If pipeline creation is unavailable, check the project limit and your permissions. Team members may be able to view a project without having every edit or administrative action.
4. Add a Manual Trigger
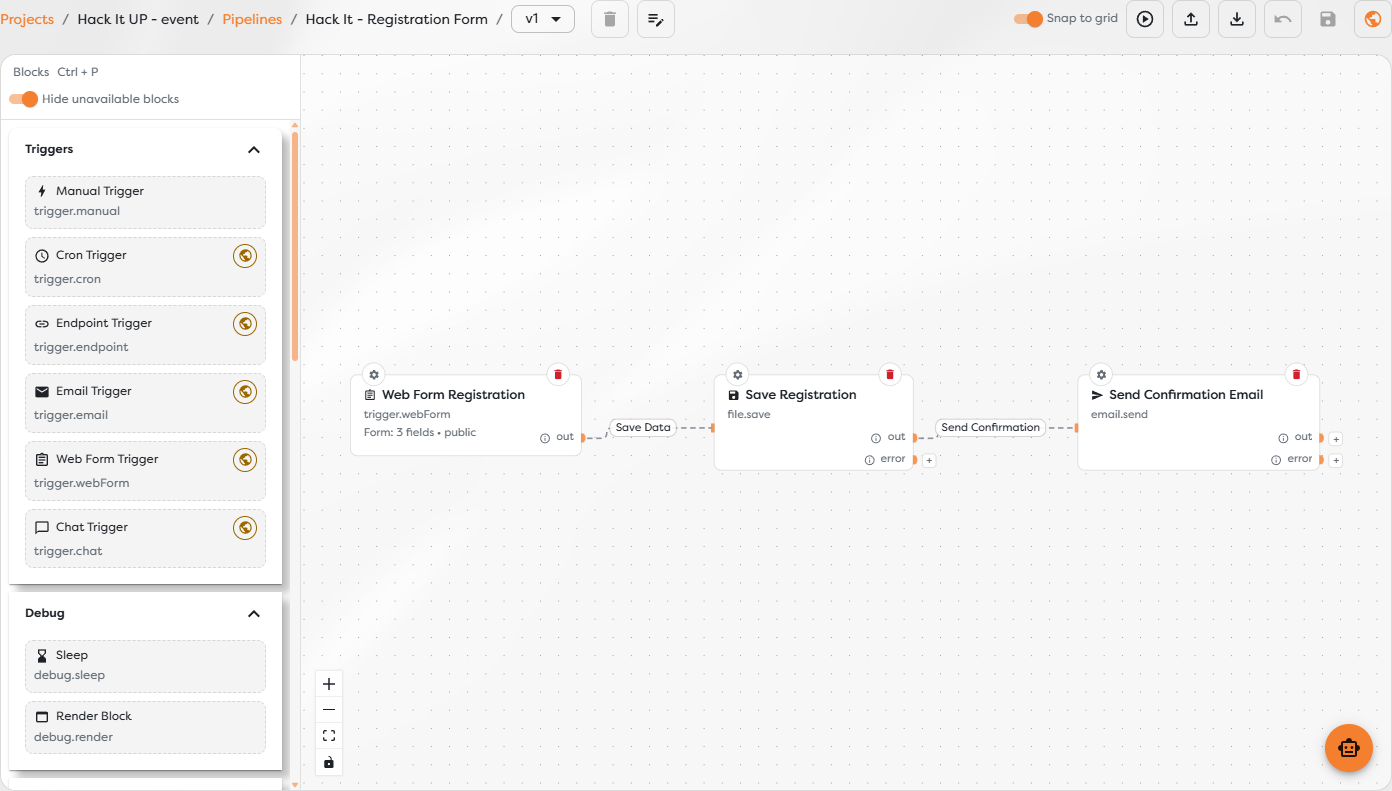
The Designer has a block catalog on the left and an editable canvas on the right. Find Manual Trigger under Triggers and drag it onto the canvas.
Open the trigger's settings and provide a small JSON body, for example a message and a name. This body becomes the first output of the workflow when you start a manual test.
A pipeline can contain more than one trigger. For this first workflow, keep one Manual Trigger so the run path is unambiguous.
5. Add and connect a Transform block
Find Transform in the processing blocks and drag it to the right of the trigger. Connect the Manual Trigger's Out port to the Transform block's input port.
Open the Transform settings and return a JSON-compatible value based on the incoming data. Keep the first transformation simple: preserve the input message and add a fixed field such as a status. Use the editor's available input references and validation rather than guessing a variable name.
The completed diagram only needs two executable blocks:
- Manual Trigger starts the test with your JSON body.
- Transform reads that body and returns the new structured value.
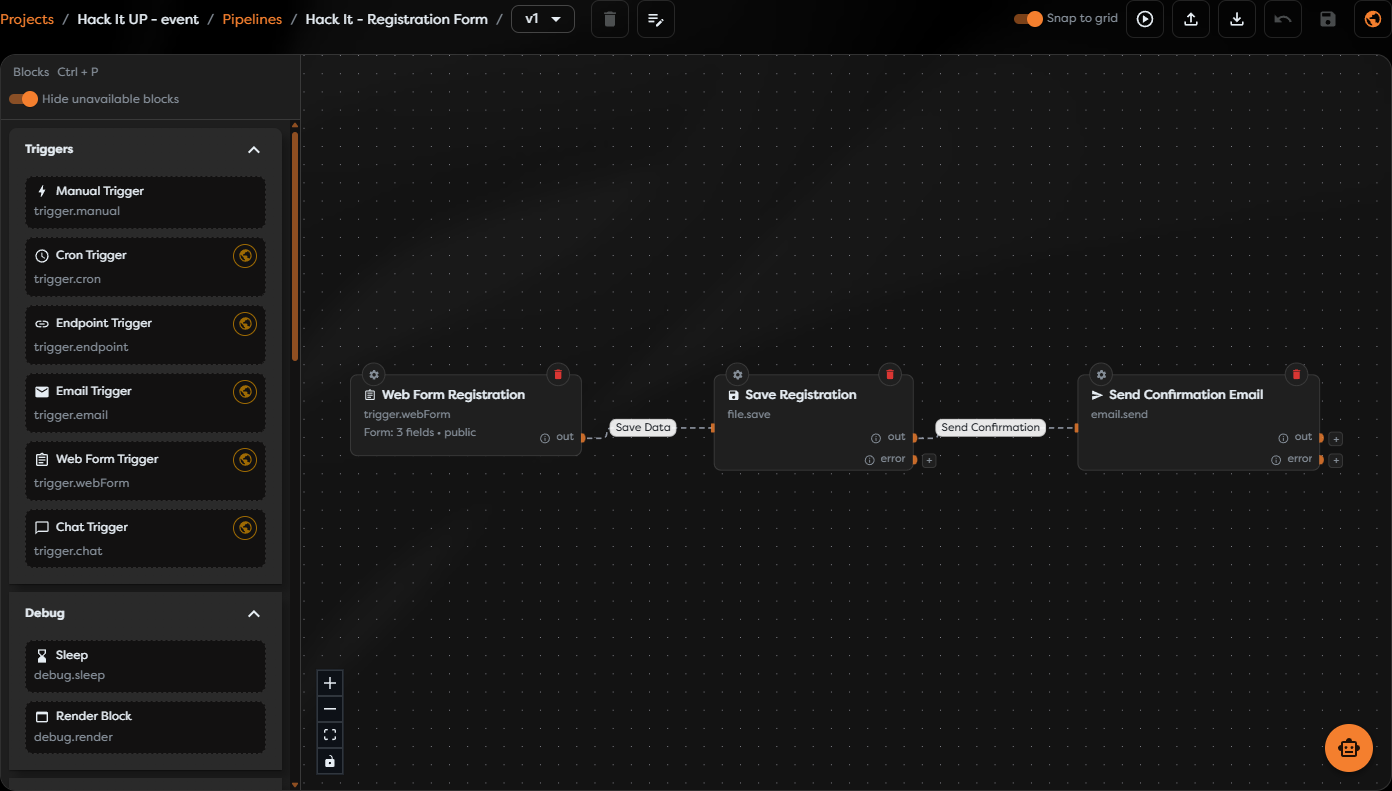
The Designer shown below uses the same connection model in a practical registration flow. A Web Form Trigger starts the run, Save Registration stores the submitted data, and Send Confirmation Email handles the final action. The trigger catalog, version selector, run control, and save controls are visible around the canvas.
6. Save the workflow
Use the save action in the Designer toolbar. If Builders asks for a version name, enter a short unique name such as v1 or first-test.
Saving records the current workflow version. It does not make the pipeline live. When the save control is disabled, the current diagram has no unsaved changes.
Do not publish yet. First verify the draft with a test run.
7. Start a test run
Use the Designer's run action and select the Manual Trigger if Builders asks which trigger should start. A test run executes the editable workflow, not the version currently handling live traffic.
During the run, watch the blocks change state. After it completes:
- Open the Manual Trigger execution and confirm that its output contains the JSON body you entered.
- Open the Transform execution and inspect its input, output, logs, duration, and any reported error.
- Confirm that the Transform output contains both the original data and the field you added.
The completed run also appears under Runs with a test indicator. A successful test proves that this draft can execute; it does not publish or activate the workflow.
Troubleshooting the first run
- The run action is unavailable: save the current changes and confirm that the diagram contains a trigger.
- The wrong path starts: choose the intended Manual Trigger when the pipeline contains multiple triggers.
- The Transform block fails validation: return a JSON-compatible value and use the input reference exposed by its editor.
- A block is unavailable: disable Hide unavailable blocks to inspect it, then check the required feature, integration, owner scope, and budget.
- The run is rejected: check the personal or team owner's compute-token balance and concurrent-run limit in Budget.