
Publish a Web Form
Use a Web Form Trigger to turn a published pipeline into a Builders-hosted browser form. The trigger defines the visitor-facing fields and appearance, the submitted input shape, access protection, upload behavior, and the message shown after Builders accepts a submission.
This guide uses an event registration form that validates its values, stores registration data, and sends a confirmation message.
Design the submission contract
Choose a stable Form root key and stable keys for every submitted field. These values become template paths used by downstream blocks.


| Setting | Contract effect |
|---|---|
| Title | Identifies the form to visitors |
| Form root key | Contains submitted values in workflow input |
| Submit label | Names the visitor action |
| After submit message | Confirms Builders accepted the submission |
| Style type | Selects a built-in template or complete manual CSS |
| Authorization | Determines how a visitor gains access |
With a root key of registration, a submission can enter the workflow as:
{
"registration": {
"attendeeName": "Ada Lovelace",
"attendeeEmail": "ada@example.com",
"attendanceDate": "2026-09-18",
"track": "automation-ai",
"topics": ["workflow-automation"],
"experienceYears": 3
}
}
Changing registration or a field key later breaks expressions such as {{input.registration.attendeeEmail}}. Update and test every dependent block before publishing that change.
Build a usable layout
The form Designer provides layout items, display elements, and input fields. Drag them into Form layout, select an item, and configure its properties.
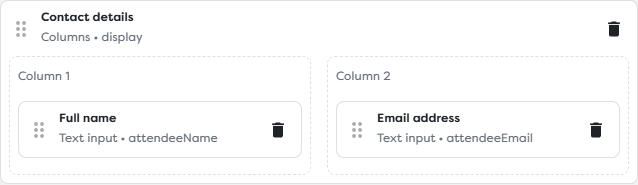
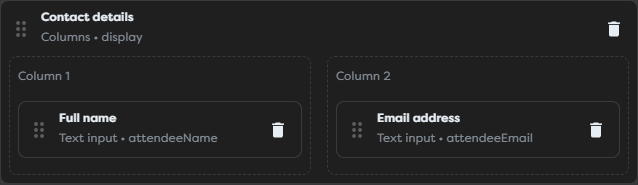
Use Columns to group related short fields, such as name and email. Columns collapse on narrow screens, but long labels, help text, manual CSS, and nested items can still create poor mobile layouts. Preview the actual content at desktop and mobile widths.
| Item | Submitted value |
|---|---|
| Text input, Text area, Password | String |
| Date | YYYY-MM-DD string |
| Number input | Number |
| Radio or Dropdown | One configured option value |
| Multi select checkbox | Array of configured option values |
| File | One file descriptor or an array of descriptors |
| Text, Image, Separator, Columns | No submitted value; display or layout only |
Every input needs a stable Key and a visitor-facing Label. Keep option values stable machine identifiers such as platform-engineering; change the label when display wording changes.
Validate before external effects
Use the form's Required, native date or number fields, and maximum text length to improve browser feedback. These controls are not a server-side security boundary and can be bypassed.
Web Form Trigger does not provide an email-specific field or one JSON Schema for the entire submission. Validate business rules in the first downstream block, including:
- normalized email syntax and permitted domains;
- currently available dates, ticket types, or capacity;
- configured option values and maximum array length;
- required consent and eligibility;
- duplicate registration or idempotency key;
- file content, signature, media type, and retention policy.
Reject invalid data before email, database, AI, file persistence, or integration calls. The MDN web forms guide provides the underlying browser-form concepts.
Choose access protection
Web Form supports public, basic, token, and bearer authorization. Public is appropriate only when anonymous submission is expected and downstream effects are abuse-controlled.
Token and Bearer modes require request headers that normal address-bar navigation does not add. Use an application or trusted proxy that supplies credentials at runtime. Do not place a shared token in the form URL.
See Authentication for Public Workflows for the complete comparison and test matrix.
Configure appearance and preview
Start with a built-in template. Use Manual CSS only when the host experience requires it and the team can maintain focus, contrast, validation, narrow-screen, and disabled states.
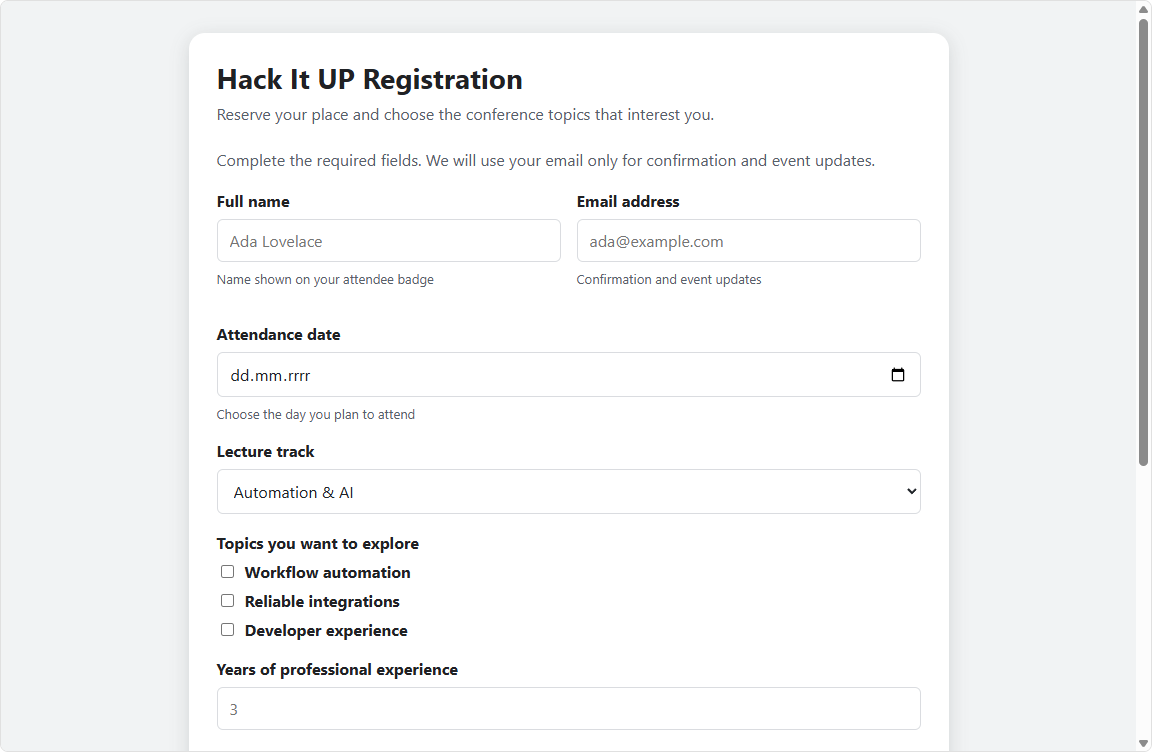
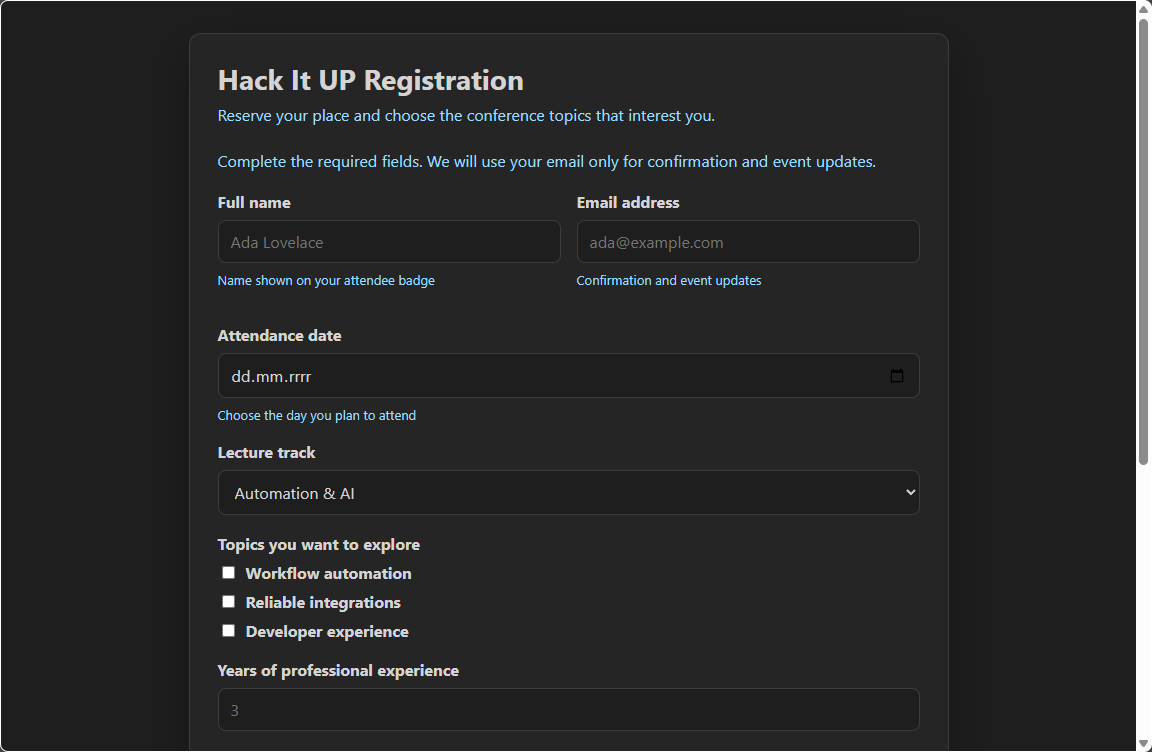
Preview verifies layout and presentation. It does not publish the URL, start a real workflow run, verify protected browser access, or prove that downstream blocks succeed.
Check:
- labels remain visible and are not replaced by placeholders;
- required and invalid states are understandable;
- keyboard focus follows the visual order;
- columns collapse without overflow;
- help text and options fit on narrow screens;
- light and dark templates retain readable contrast;
- the submit action is clear and the confirmation text is accurate.
Publish the form
The read-only Form URL becomes operational for the published pipeline version. Copy it from Web Form Trigger settings.
- Connect Out to a validation or normalization block.
- Complete field keys, options, validation, authentication, style, and uploads.
- Save the draft and resolve Designer validation errors.
- Preview the intended template and responsive layout.
- Test downstream processing with controlled data.
- Publish the intended version.
- Open the copied Form URL using the intended access method.
- Submit one unique, non-sensitive test registration.
- Open the resulting published run and inspect trigger input, block output, and external effects.
- Confirm the visitor message separately from downstream completion.
The public URL uses this general shape:
https://builders.boilerplate.com/forms/<project-id>/<pipeline-id>
Copy the actual URL rather than assembling identifiers. A saved draft can differ from the form currently served by that address.
Process the accepted submission
Normalize and validate the object under the configured root key, then use one internal shape throughout the workflow. A robust registration flow normally performs:
Web Form Trigger
-> validate and normalize
-> enforce duplicate and capacity rules
-> persist registration and required files
-> send confirmation or notify staff
-> record a correlation identifier
Make capacity allocation and duplicate protection atomic when concurrent visitors can claim the last place. Keep notification failure separate from registration acceptance so an email-provider problem does not silently discard a valid stored registration.
The After submit message confirms that Builders accepted the form request. It does not report the final state of every asynchronous downstream block. Use run history, alerts, or a separate status workflow for completion that matters to the visitor.
Protect submitted data
- Collect only values the workflow needs.
- Do not use the Password field to collect account passwords, API keys, or other secrets merely because the browser masks characters.
- Escape visitor text for SQL, HTML, paths, prompts, and provider-specific destinations.
- Minimize names, email addresses, notes, and uploaded-file details in logs.
- Define retention, export, and deletion for stored submissions.
- Use verified identity before returning or modifying an existing person's record.
- Do not render raw provider errors or internal identifiers in the completion page.
Troubleshoot the hosted form
| Symptom | Check |
|---|---|
| URL does not load | Intended version is published and URL was copied from the trigger |
| Old fields are displayed | Draft differs from the currently published version |
| Field missing from input | Item is an actual input and has a key; display items do not submit data |
| Template expression is undefined | Real run shape and configured root key |
| Required value is bypassed | Downstream validation and current published version |
| Mobile layout overflows | Column nesting, labels, help text, options, and manual CSS |
| Protected form fails in a browser | Authentication mode and whether the client supplies the required header |
| Confirmation appears but work failed | Published run and downstream block logs |
| Duplicate effects occur | Idempotency and retry handling |